Review Case Contents
The travel case is customized to fit each component of your Event Kit snugly & securely.
1

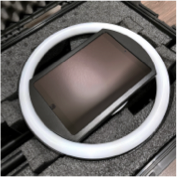
HALO Body
Your HALO “body” will be at the top. Remove HALO and set the body aside in a safe location.
2

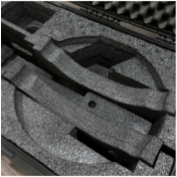
Stand Legs
Below the body, you will find the legs to your stand.
3

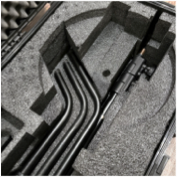
Stand Riser
The riser will be at the bottom of the case.
4

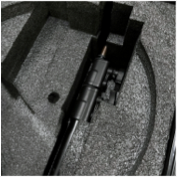
Accessories
The clamp and charger are located to the side in their own compartments.