
Roaming photo booths are an instant hit at events. Who doesn’t love a photo booth experience that comes to you, rather than the other way around?
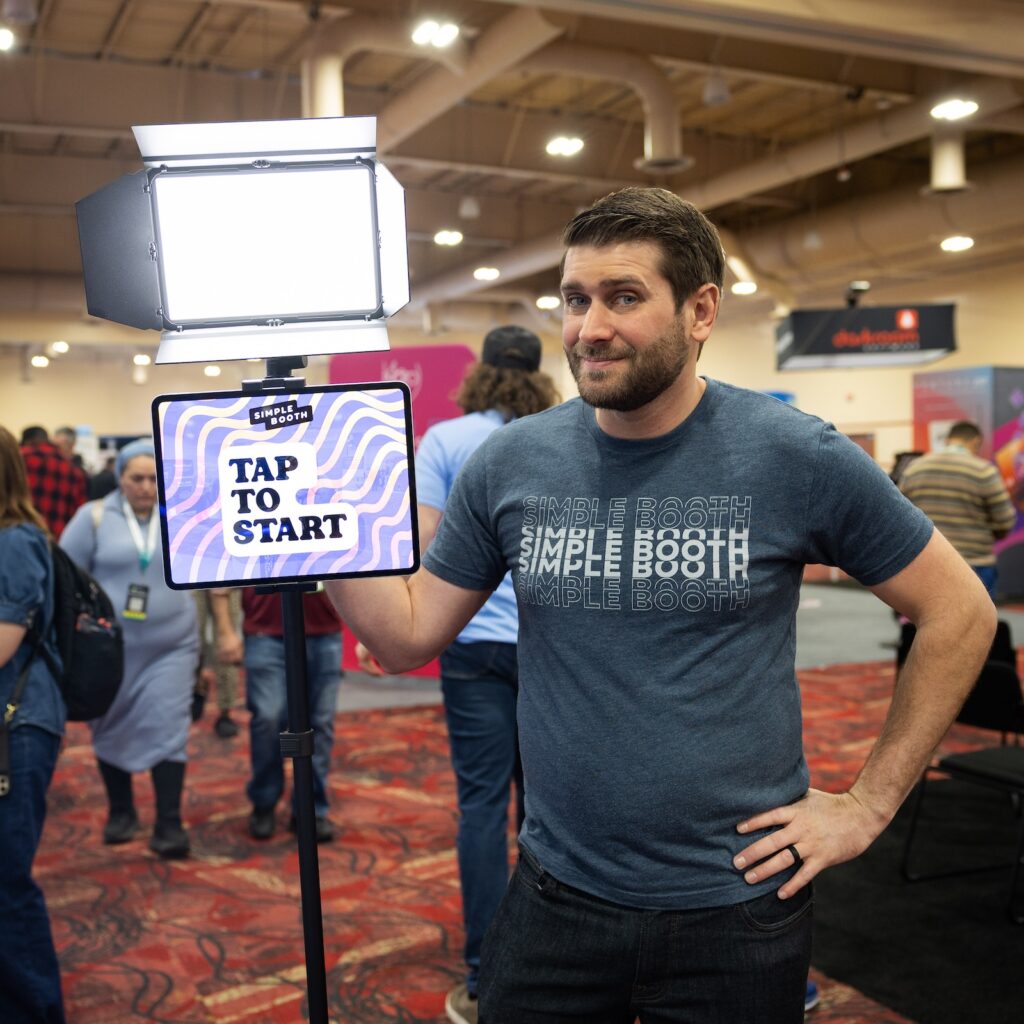
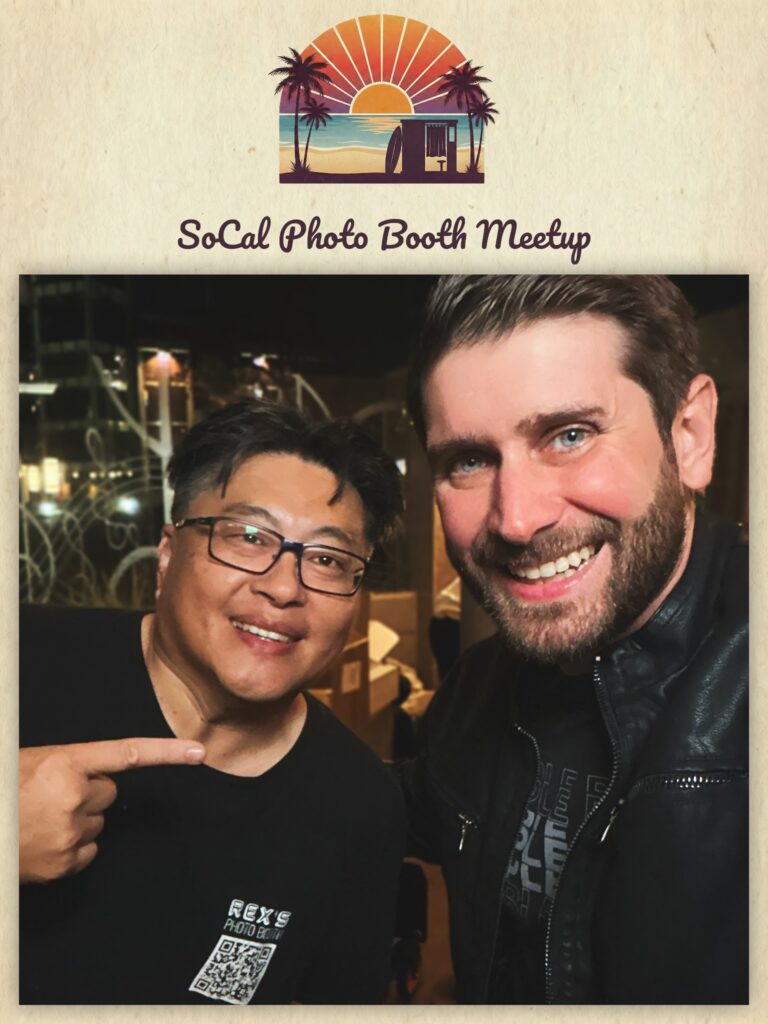
If you’ve attended events with the Simple Booth team recently—from photo booth professional meetups in SoCal to the Photo Booth Expo (PBX) in Las Vegas—you may have seen our do-it-yourself (DIY) roaming photo booth in action.

Now, you might ask, what makes this DIY roaming photo booth special?
Here’s what we like about it:
- It’s functional. The setup is light, since the monopod supports its already minimal weight, making it easy to hold and walk around with.
- It’s visually attractive. With it’s minimalist approach, you don’t have to worry about messy cords running to a battery pack on the operator.
- It makes everyone look great. The light is professional quality and results in polished captures, especially when combined with Simple Booth’s high-quality image processing.
We often hear, “Where can I buy this?” And the truth is, you can build it yourself using a few off-the-shelf parts. Besides the iPad, the hardware cost a mere $230, which includes a studio-quality white LED light.
By following this guide, you can offer your client’s a sleek roaming photo booth solution that you’re all-but-guaranteed to pay off with your first event.
In this article, you’ll find exactly what you need to get started.
But first, what exactly is a roaming photo booth?
Roaming photo booths (or “roamers”) are a cross between the photo booth and live event photography. They are made possible by modern, lightweight photography equipment and tablets.
Roamers can be used alongside stationary photo booths because they provide a complementary service.
Since the operator goes out into the event space and engages with guests, more photos are captured in a variety of settings.
Guests enjoy roaming photo booths because they give instant access to the photos and clients love them because they result in more photos from the event.
1. The Monopod
You can get a basic monopod for under $20 on Amazon, which is what we used for our roamer setup.

There’s nothing particularly special about these. They are made of aluminum, have a 1/4″ thread on top, and a rubber stopper on the bottom which you can unscrew to ensure you get a nice pivot point with the ground and don’t scratch the floor.
The purpose of the monopod is to give you a frame to attach your iPad and light to, and that’s about it.
For an upgrade, get one with feet so you can take breaks from holding it during your events.
2. The iPad Holder
In order to attach the iPad to the monopod, you need a basic holder that clamps to the monopod.
After trying a handful, our favorite is this aluminum one with a single ball joint for under $30.
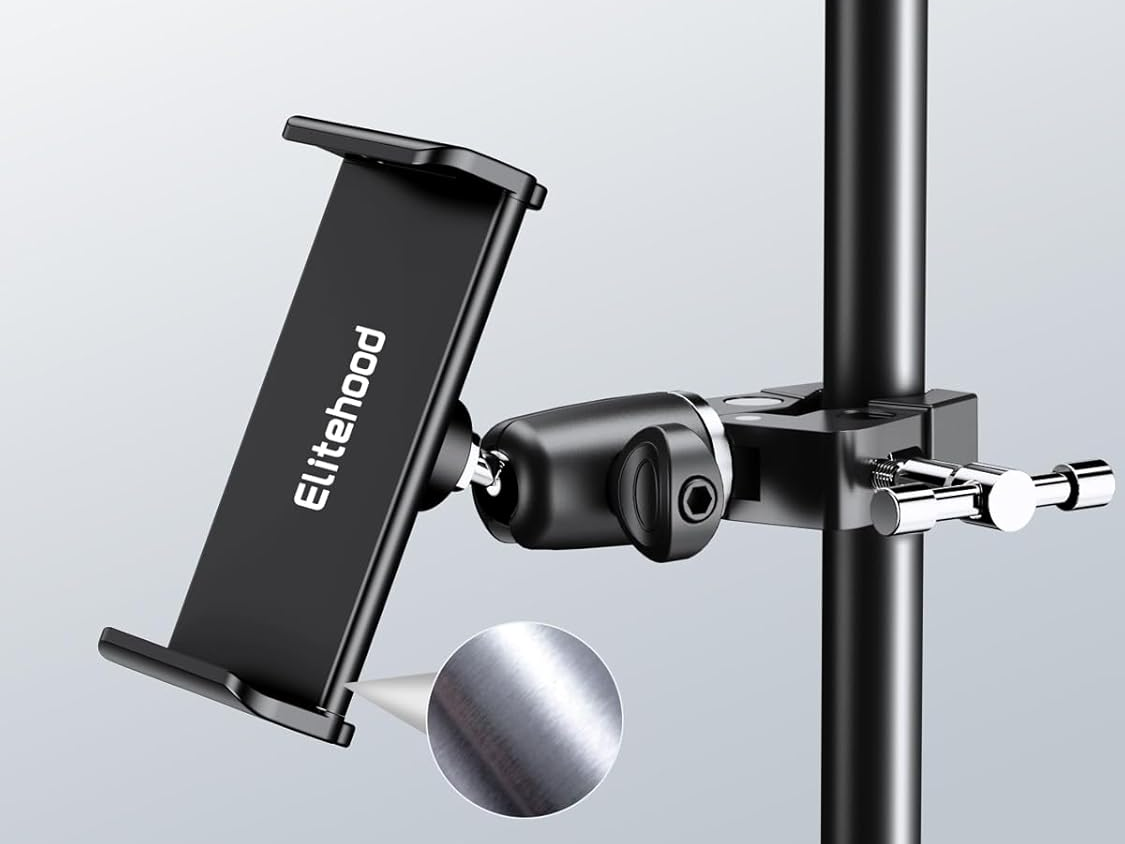
It can hold any size iPad, including the 13″ models. The ball joint allows you to easily position your iPad in portrait or landscape orientation.
We tried a plastic iPad holder, and in the end decided it was too brittle for our liking—we wanted to be able to tighten it without worrying about the holder cracking.
There was another candidate also made of aluminum that featured two ball joints which, theoretically, made it more versatile. However, in practice, this approach just added another knob to tighten and made it more difficult to get the iPad positioned.
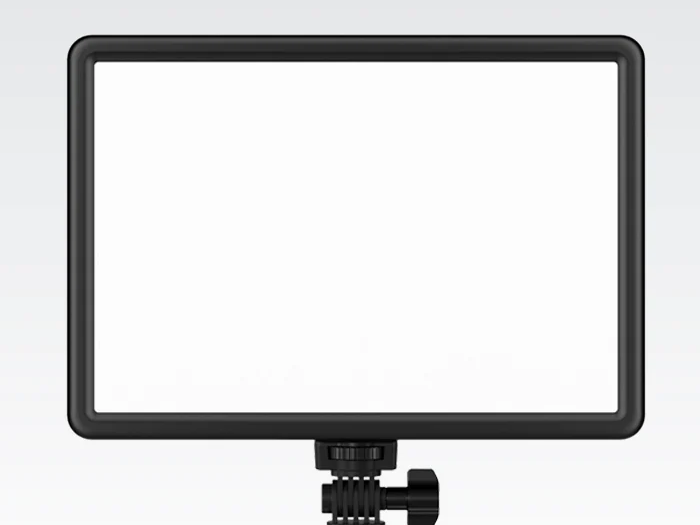
3. The Light
This is the most crucial part of the setup because—if you haven’t heard us say it before—lighting is incredibly important.
For our setup, we used a Lumecube Studio Panel for $150.
The barn doors are an extra $20 if you’re into that look.
This is a great light with adjustable color temperature. It also has a built-in battery pack that will last for hours and gets brighter than your guests would even need.
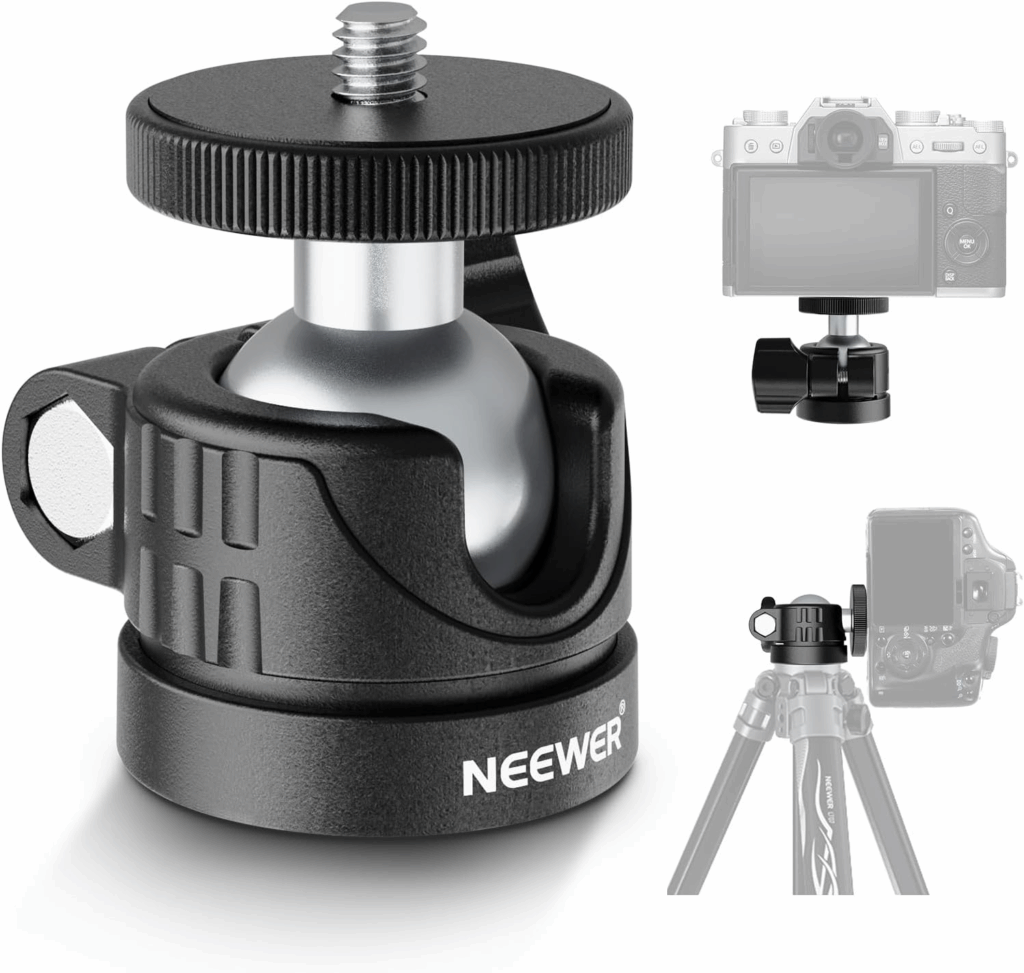
4. Ballhead Adapter for the Light
To mount our light to the monopod, we use a ball head adapter so that you can adjust the tilt of the light.
Technically, you could screw your light directly to the top of the monopod using the 1/4″ thread, but you wouldn’t be able to angle it down at all.
This basic one by Neewer does the job for $10.
If you were mounting a DSLR here instead, which is another possible variation, we’d recommend this one from Smallrig with a quick-release plate for $20.
5. Roaming Photo Booth Software
We’re almost done, but we can’t forget about the software—after all, not all photo booth software is created equal.
The Simple Booth HALO app is very well-suited for roaming photo booths. First of all, it’s easy for guests to interact with because of it’s modern and easy-to-use interface.
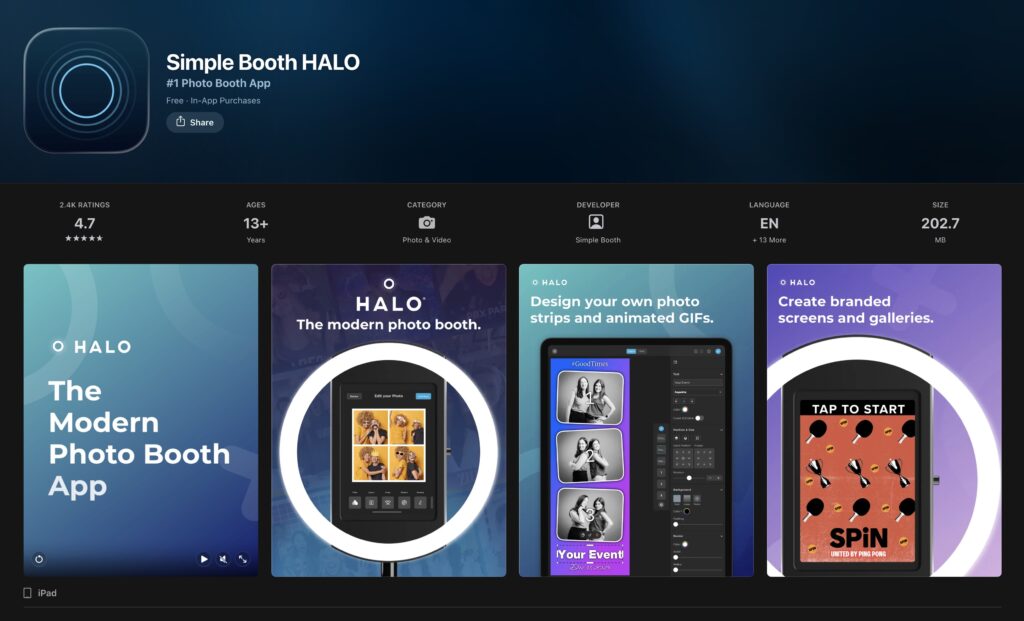
Next, it comes with all the digital sharing options you could ask for including text message, QR code, email, WhatsApp, and more.
But then, what really makes HALO stand out is the image quality. Since roaming photos don’t have a fixed backdrop, there can be a lot going on in the background.

That’s where the artificial background blur feature comes in. It’s like portrait mode for your photo booth images, and even adds bokeh.
And it doesn’t stop there. Simple Booth’s Glam filter provides a naturally flawless look on subjects skin, without erasing their facial features.
Finally, you can add color filters like black and white or film—with an intensity slider—to make your photos really stand out.
Despite the iPad front camera being relatively low resolution, people love the way they look when they use the Simple Booth HALO app.
The best part is that the software starts at only $9 per week, or $16 per week with background blur and DSLR integration included. The weekly plans include unlimited use, for multiple events, even. That’s money in your pocket.
That’s a Wrap
There you have it.
Now you know how to create a roaming photo booth that looks great, does the job well, and pays for itself in no time.
If you followed our guide and built your own, we’d love to hear about it! Send us your pics on social and we might just feature you in an upcoming post.
Ready to see what makes Simple Booth stand out? Sign up for a 7-day free trial of the Simple Booth HALO app to get started.