
Today, we are excited to announce the Simple Booth HALO® app now supports multiple overlays.
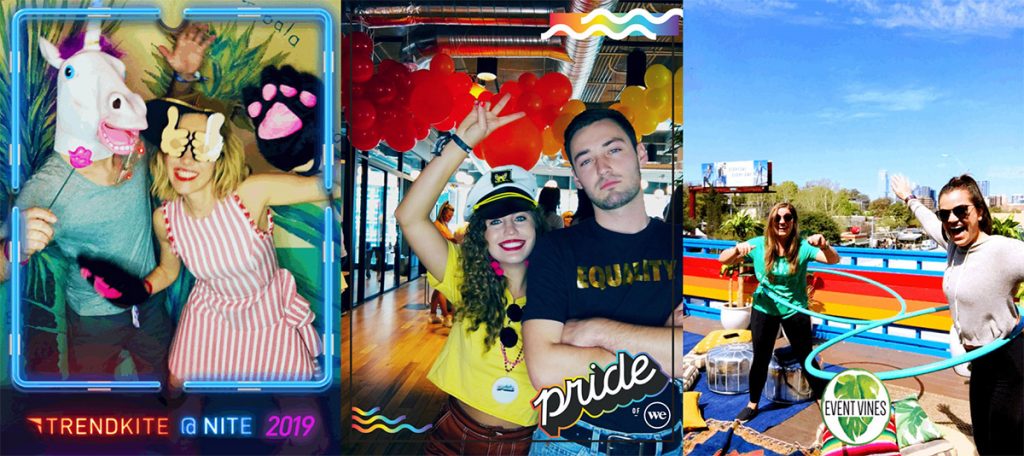
An overlay is like a watermark or frame that goes on top of every photo, video, or GIF captured. It gives pictures a unique photo booth vibe that’s completely customized to your brand or event theme.
Before today, you could always add a single overlay in the HALO app to personalize your photos.
Now, you can have up to 20 per event!
Multiple photo booth overlays has been a highly requested feature and has a lot of potential use cases, including:
- At a sporting event, offer an overlay for each competing team. Fans will love it!
- Instead of an overwhelming logo cloud for all the sponsors at an event, you could create a custom overlay for each sponsor.
- Imagine you are a non-profit that supports multiple causes — you could create a unique overlay for each cause as a way for event attendees to show their support for the cause they are most passionate about.
- At a wedding, you could get creative with Team Bride vs Team Groom overlays.
- Simply offer overlays in different color options or styles to appeal to more people!
How it works
To start using multiple overlays, you need to be on the Core plan or higher (starting at just $14/week!).
First, open or create your HALO preset on the online dashboard and scroll down to the Photo Design panel. You can upload overlays from the HALO app on your iPad, too, but it’s easier for most people from their computer.
After deciding on your media type, layout, crop, orientation, and whether you want to include margins, you will find a section that says “Manage Overlays.”
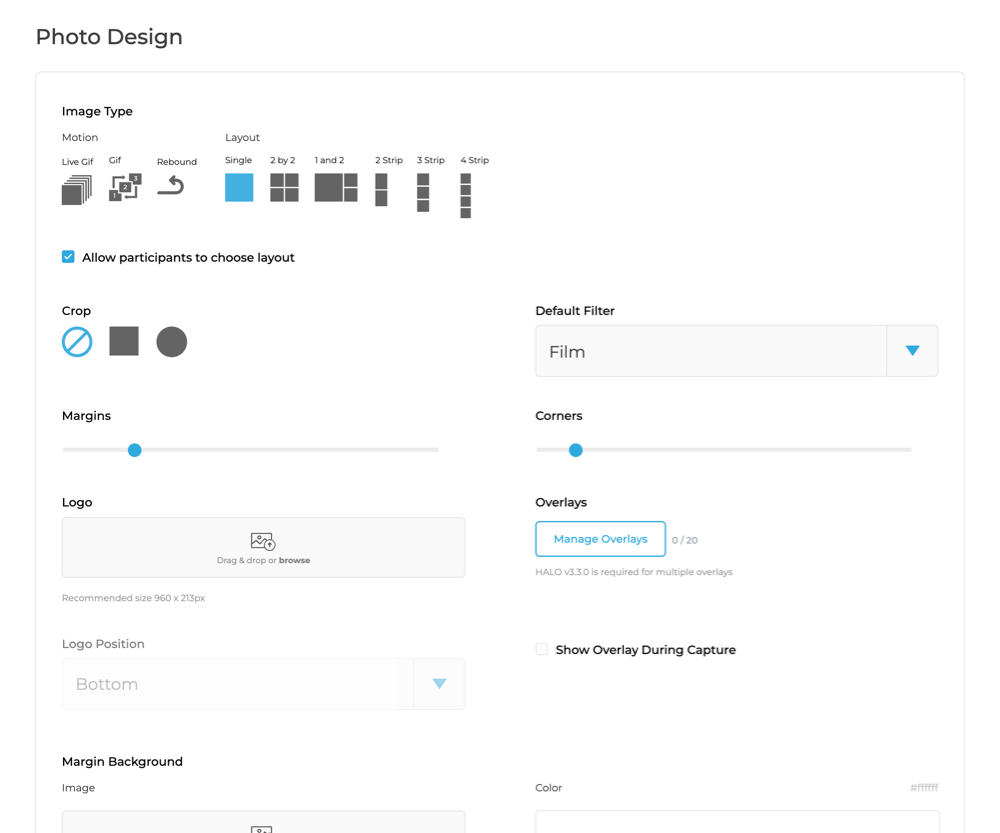
Click the button and begin to upload your overlays.

Make sure your overlays are PNG with transparent backgrounds, so the picture will be visible through them, and they match the recommended size listed under the overlays section. For more information on designing overlay graphics, read our overlay creation guide.
You can also drag and drop to rearrange the order of your overlays — the first overlay is the one that will appear first and likely be seen the most.
When you launch the booth, photo booth participants can swipe to choose which overlay to apply for each photo session.
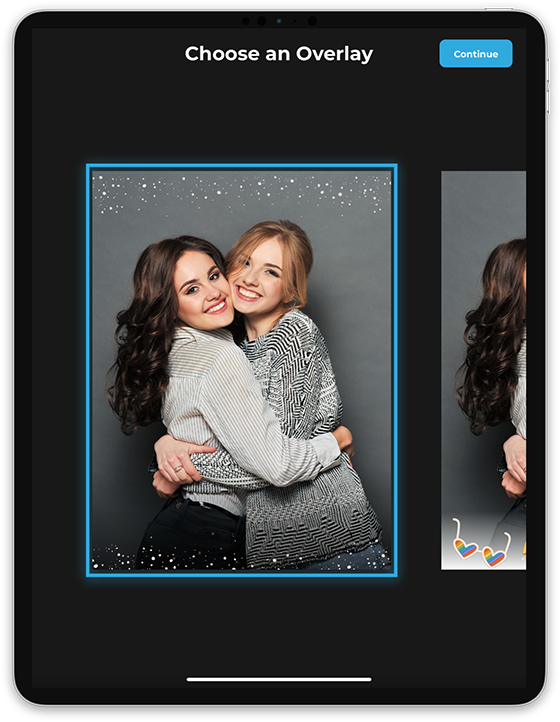
The new Choose Overlay screen appears after the participant taps the screen or after the Choose Layout screen if “Participants choose layout” is enabled in your Photo Design panel. Then, the selected overlay can be displayed during the photo capture (aka countdown) if “Show overlay during capture” is on.
The new multiple overlays feature is available in the Core, Plus, Pro, and Select plans starting today.
Time to get creative!
Multiple overlays are a great tool to give participants more control over their photos and make them more personalized. Having diverse options will make your event more exciting and your galleries more visually impactful.
Make sure to tag @simplebooth on Instagram or Facebook and share how you’re using multiple overlays!
Start using the Simple Booth HALO® app with multiple overlays today!