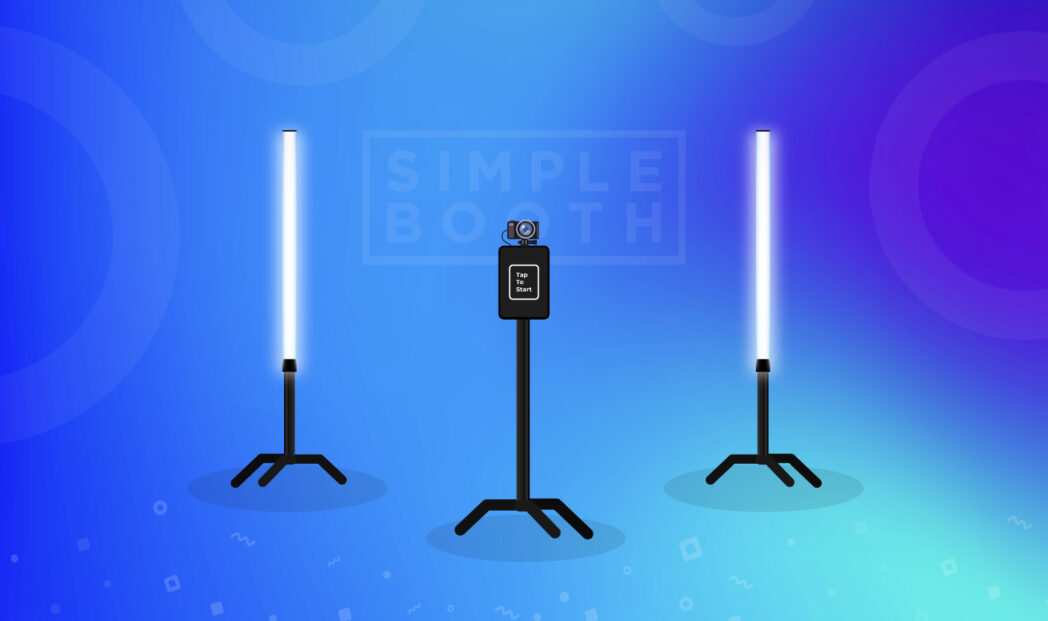
A do-it-yourself (DIY) photo booth is one of the easiest ways to capture and share moments at events.
It’s perfect because you’ll walk away with a whole gallery of images without having to invest in a professional photographer or constantly take turns with your phones to get group photos (you know what we’re talking about).
Plus, it’s fun and entertaining for you and your guests! What’s not to love?
With the right gear and setup, you can create your own photo booth that looks amazing and gives you and your guests the ability to snap, share, and enjoy photos instantly.
In this guide, we’ll walk you through the best DIY photo booth setups—from easy iPad photo stations to exciting DSLR camera setups—along with complete gear lists (with links) so you can get exactly what you need.
TLDR; Watch the Video
All of these options are modern, minimalistic, and easy to assemble with off-the-shelf products. In other words, you don’t need a workshop or any tools to construct these!
Whether you’re throwing a birthday party, planning a wedding, or chairing the committee for this year’s company holiday party, we’re certain you’ll find an option that fits your budget and style.
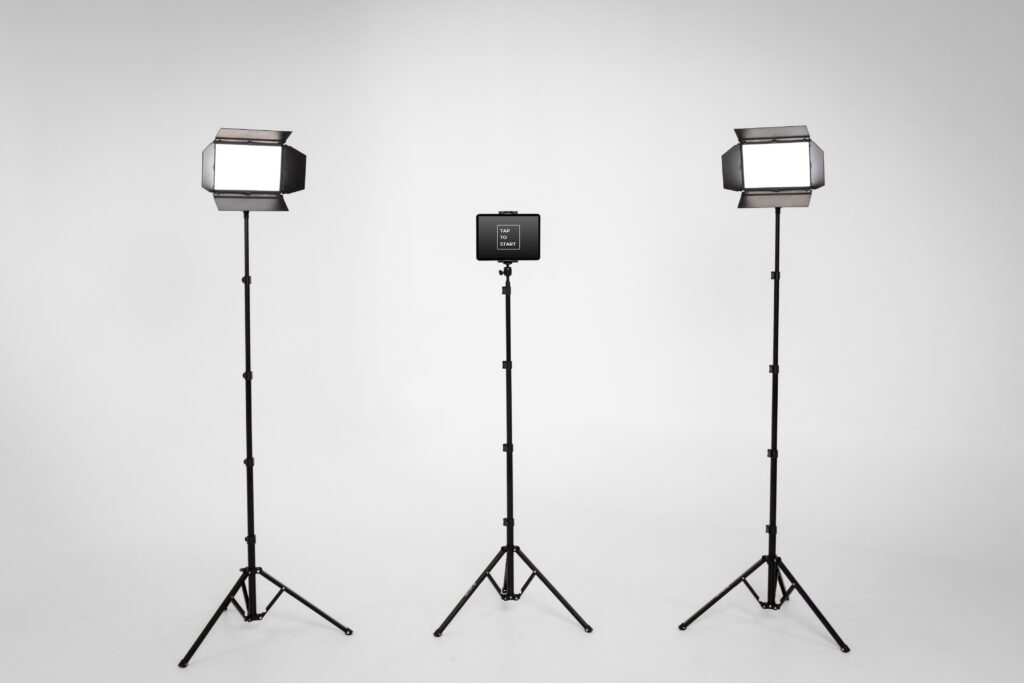
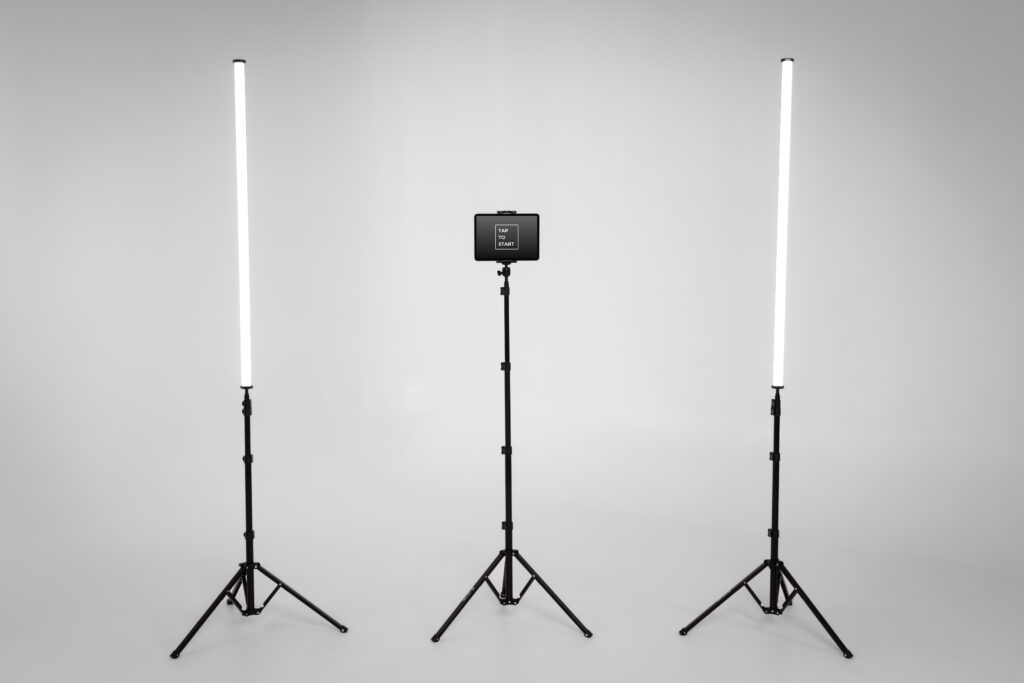
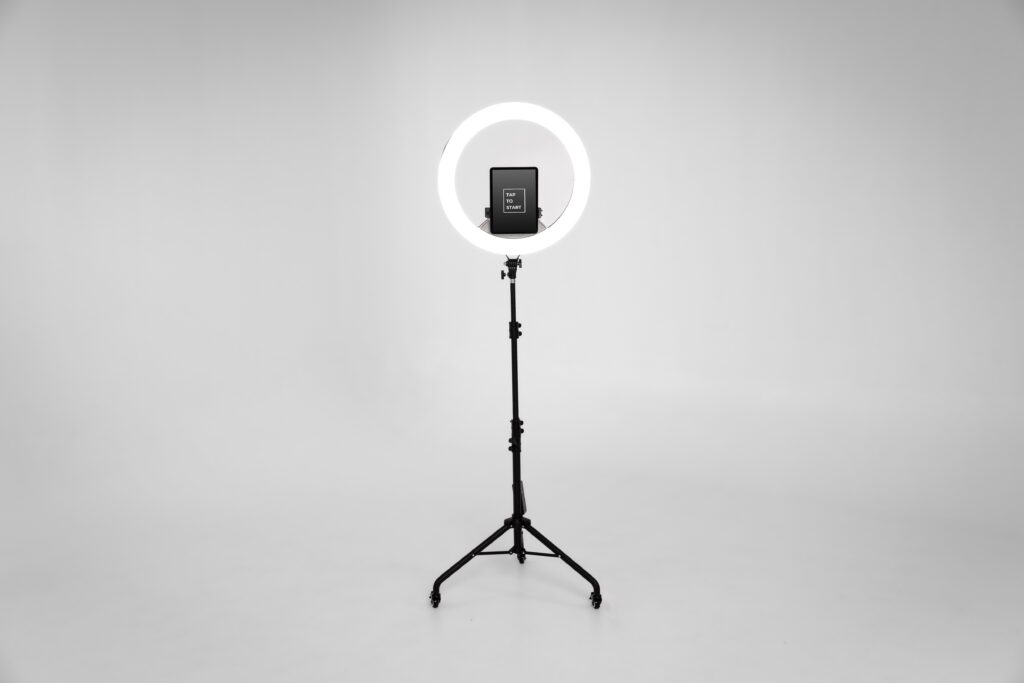
Here’s a preview of the DIY photo booth setups we’ll cover in detail:
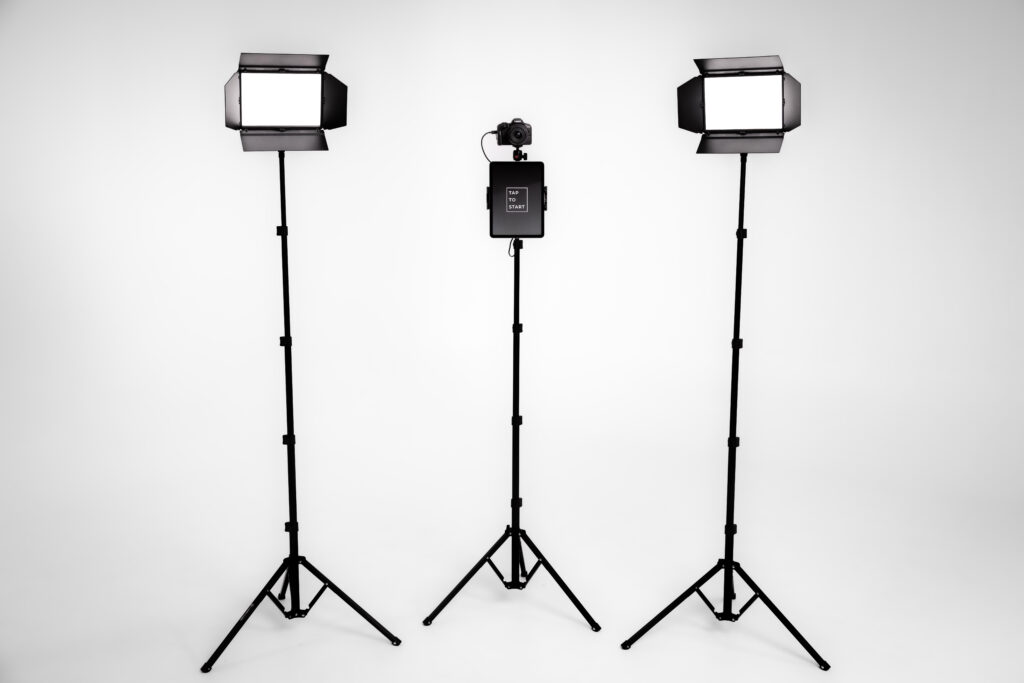
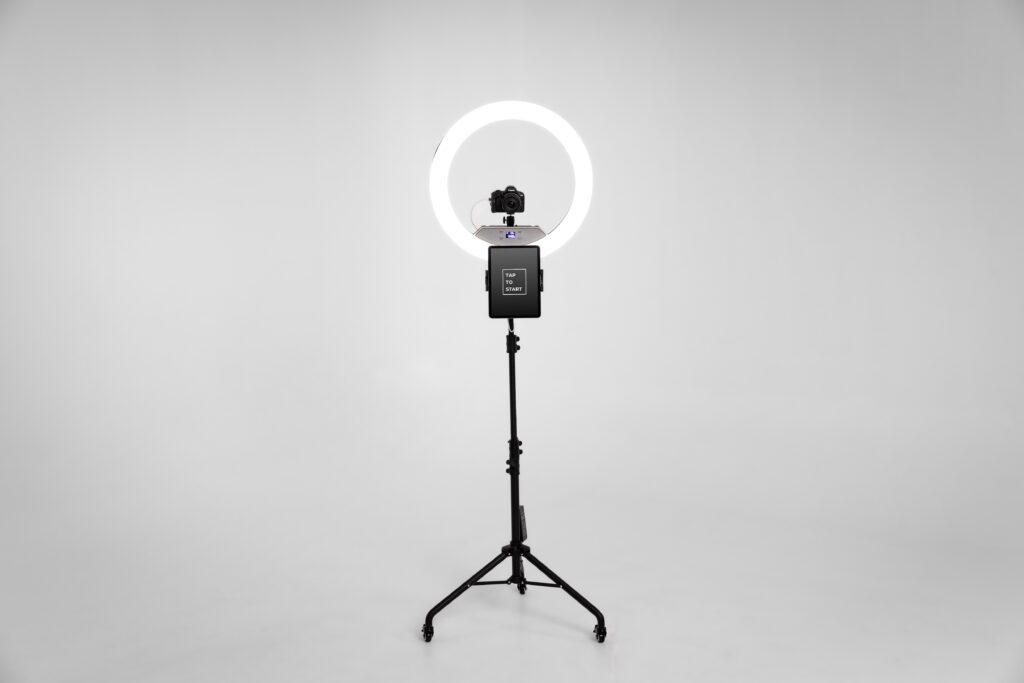
See something you like? Jump to a specific setup:
- iPad Holder with Two-Light Kit
- iPad Holder with Vertical Light Tubes
- iPad Holder in Ring Light
- DSLR Photo Booth with Two-Light Kit
- DSLR Photo Booth with Ring Light
Regardless of which setup you choose, all these start with a few essentials:
- An iPad (basic or upgraded model)
- A trusted photo booth app (like Simple Booth HALO®)
- Lighting + support gear (the main factor that changes between setups)
From there, you can customize the lighting from a few of our recommended options, add a DSLR camera, or more to get the best setup for your event. But first…
Is a DIY Photo Booth Right For You?
Do-it-yourself photo booths aren’t for everyone. Some people would prefer to rent a photo booth or invest in a professional photo booth solution.
Here’s a quick breakdown of pros and cons to consider for a DIY photo booth when deciding if its right for you, your events, or your business.
| Pros ✅ | Cons ❌ |
| Budget-friendly and scalable for different event sizes | Requires time to set up and test before events |
| Customizable look and feel | Gear quality varies depending on what you buy |
| Wide range of gear options from casual to pro | Not as durable or streamlined as professional systems |
| Fun project for creative hosts | More troubleshooting if something goes wrong mid-event |
| If you already have an iPad, you can use that — otherwise, this is a great excuse to finally get an iPad! | Buying an iPad may not be worth it for a single event |
Pro Tip: If you’d rather skip the trial-and-error and want an all-in-one system that’s ready out of the box, check out Simple Booth HALO®, a professional-grade iPad photo booth that’s easy to transport and built for long-term use.
Now, if you’re still convinced a do-it-yourself photo booth is for you, let’s get into it!
First Step: Getting a Photo Booth App
One of the most important parts of your DIY setup is the photo booth app you choose to run the experience.
A photo booth app for your iPad is important so guests can see a live preview from the camera and know where to stand. On top of that, a photo booth app will walk each guest through the photo booth experience with interactive screens, so you won’t need an attendant to take every picture manually.
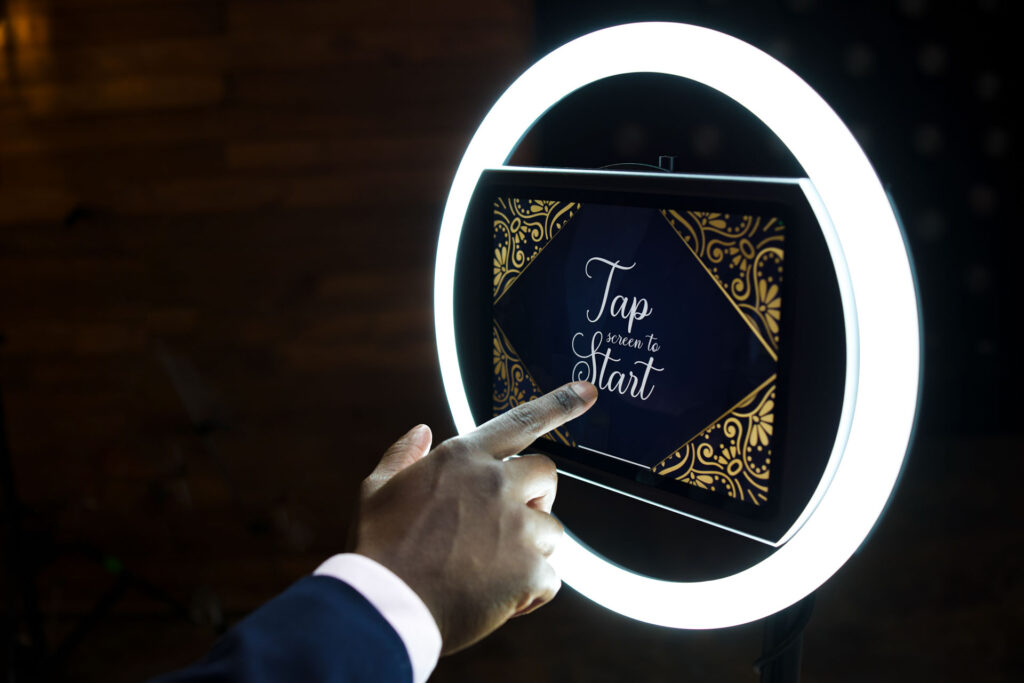
Finding a photo booth app on your own can be intimidating because many of them are made for personal use, with limited features that are mainly just for taking fun pictures at home.
Your guests, however, will expect an actual photo booth experience—one that works intuitively, delivers high-quality photos, fast, and resets for the next group after each photo session.
Fortunately, the Simple Booth HALO app was designed specifically for live events, and starts at just $9 per week! Plus, we’ve already compared it to what’s out there and can recommend it confidently.
| Best Overall | Runner-Up | Honorable Mention |
| Snappic | LumaBooth |
| Fun and easy-to-use iPad photo booth app with DSLR support, starts at only $9 / week, and can scale up for any use case. | Offers DSLR support and advanced video workflows. | Offers DSLR support, template editing, and $20 / month subscription. |
| Download App | Download App | Download App |
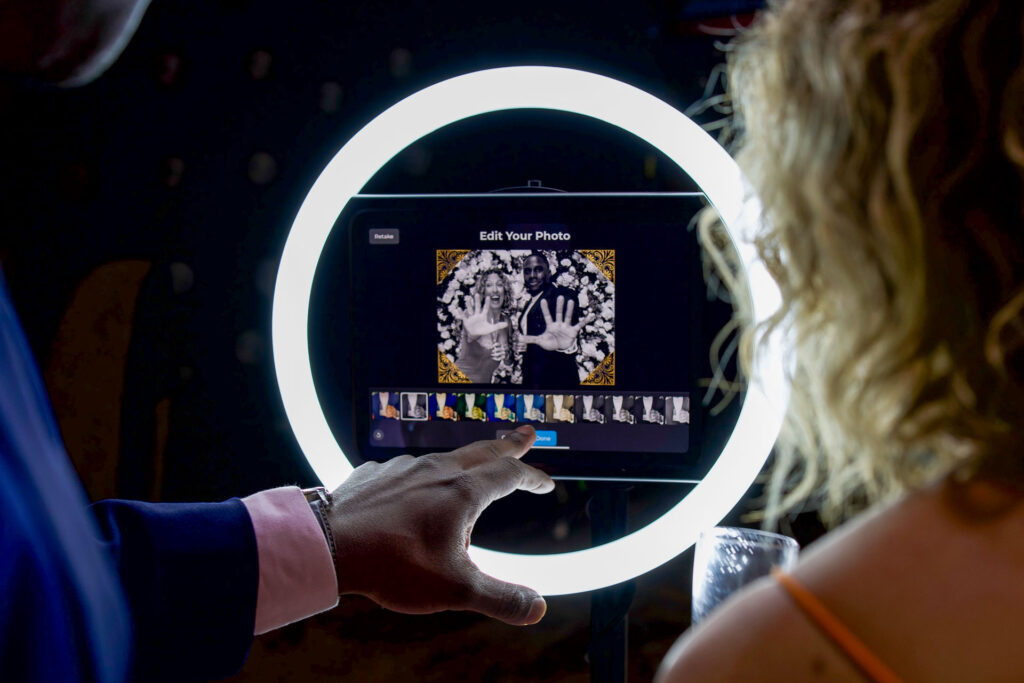
The Simple Booth HALO app can run flawlessly for hours and comes with modern features like creative effects and filters, AI-powered virtual background replacement, and the ability to add custom frames to every picture.
Once participants snap a photo and edit it just right, they can receive their photo via text, email, QR code, or even AirDrop! They can print it, too, if you set up a printer.
Plus, you and your guests can see new photos appear in real-time with the online galleries or by using Simple Booth’s Live Feed feature—which is like a modern slideshow.
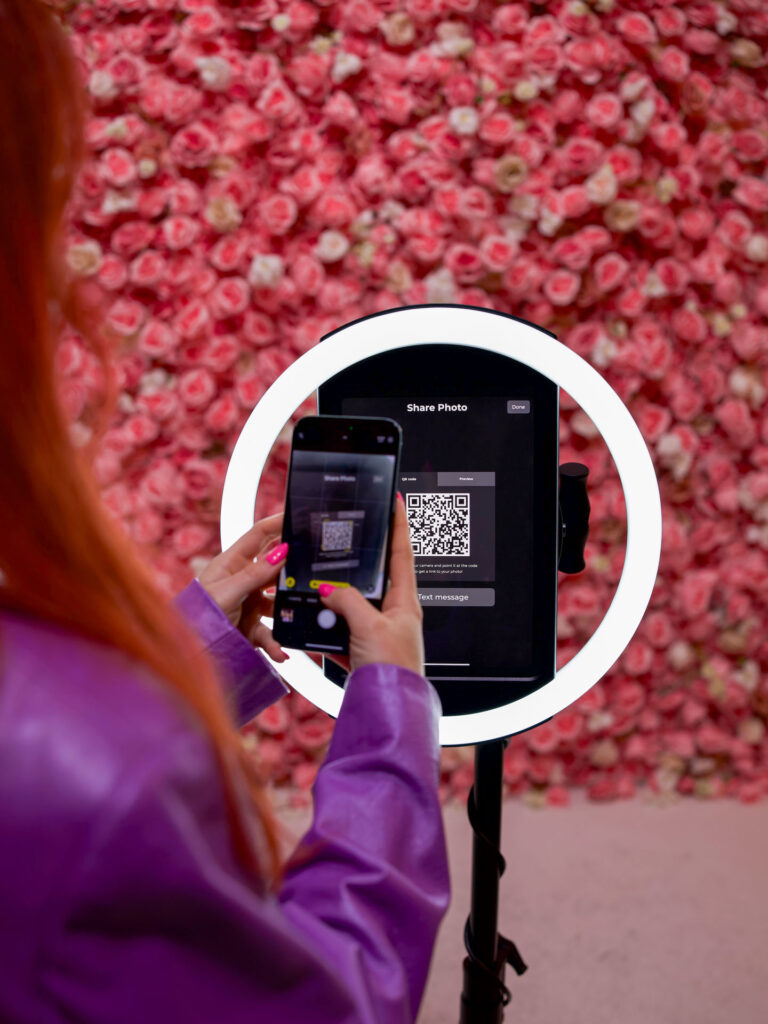
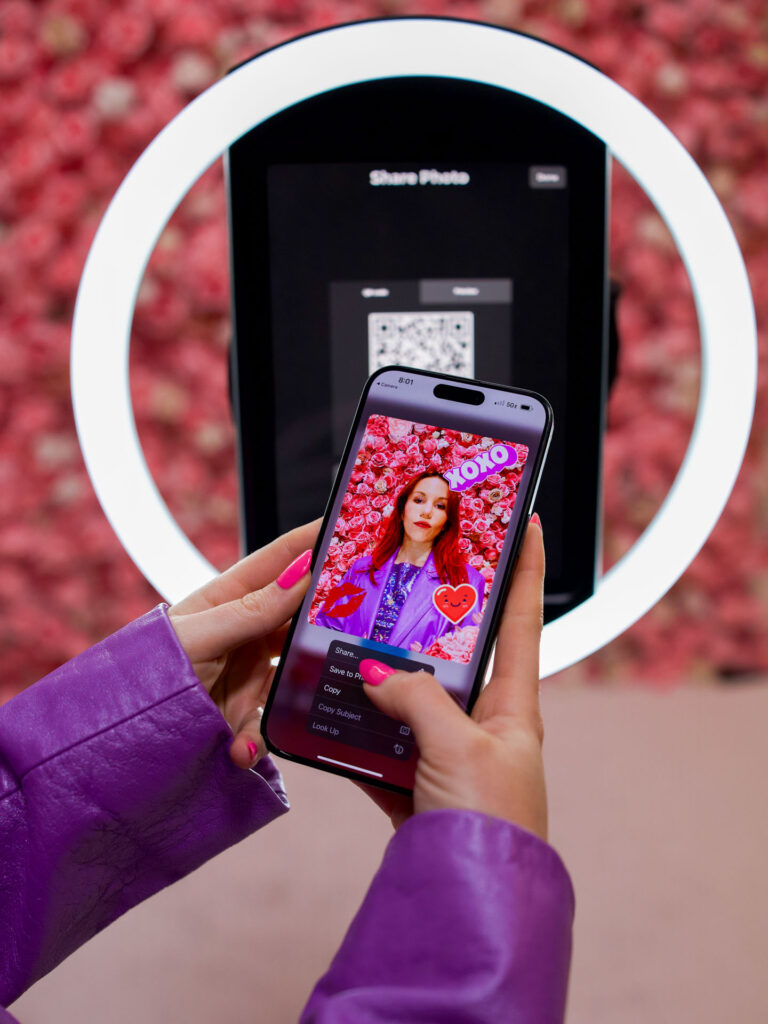
And that’s not even scratching the surface of what it can do. With all these features, guests may suspect you rented a professional photo booth!
Pro Tip: If you’d like to test it out before making a purchase, Simple Booth offers a free 7-day software trial which allows you to jump between plans and find the best fit.
Now, let’s jump into the DIY photo booth setups to find the right one for you.
Top iPad Photo Booth Setups
After testing all kinds of do-it-yourself setups, we’ve narrowed down the best iPad-based photo booths to these three.
DIY Setup #1: iPad Holder with Two-Light Kit
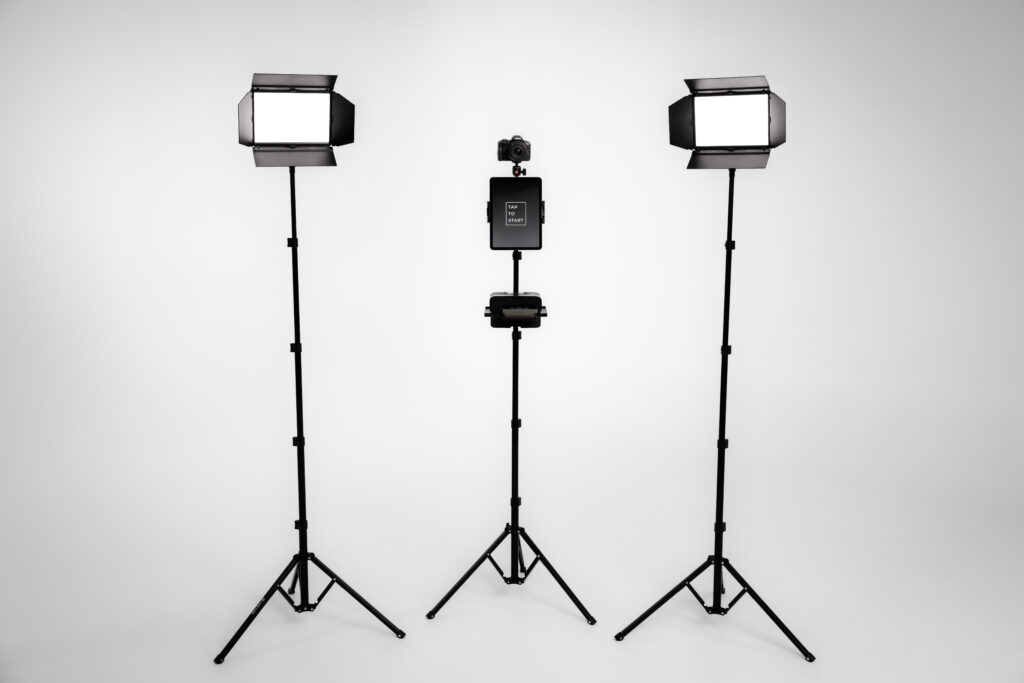
When to use it: This versatile setup works well indoors or in low-light spaces. The two-light kit provides smooth, flattering light for groups and individuals, making it a reliable all-around option. It also gives the impression of a professional photography studio, which should spark people’s interest so they come over and take photos.

| Gear List | Basic | Better |
| iPad | iPad | iPad Air |
| iPad Stand | Neewer | SmallRig |
| iPad holder for top of stand | KDD | – |
| LED panel 2-light kit | Neewer | Lume Cube |
How to Set It Up
- Set up the light stands and attach the iPad holder to the top of the middle stand.
- Mount your iPad to the center stand using the iPad clamp. Position the stand at about chest level for guests to interact with.
- Raise the two LED panels slightly above eye level and place them on either side of the iPad, angled inward to point where the subjects will stand.
- Open your photo booth app, adjust brightness and angles if needed, and run a quick test shot.
Pro Tip: Plug in your lights and iPad so they don’t run out of juice during the event!
DIY Setup #2: iPad Holder with Vertical Light Tubes
When to use it: This setup has an impressive, modern look that works especially well at weddings, corporate events, or any party where style matters. Vertical light tubes provide flattering light for photos, and even include the ability to change colors with the built-in RGB LEDs for unique vibes!

| Gear List | Basic | Better |
| iPad | iPad | iPad Air |
| iPad & light stands(buy 3, 1 for iPad, 2 for tube lights) | Neewer | SmallRig |
| iPad holder for top of stand | KDD | – |
| LED tube lights(buy 2, one for each side) | Neewer (size options) | Lume Cube (4 ft) |
How to Set it Up
- Set up the light stands and attach the iPad holder to the top of the middle stand.
- Mount your iPad to the center stand using the iPad clamp. Position this stand at about chest level for guests to interact with.
- Raise the two LED tubes so that the center of each tube lines of with the iPad. Place them on either side of the iPad.
- Test with a group to make sure shadows are minimal and everyone is evenly lit.
Pro Tip: For a polished look, make sure both lights are set to the same color temperature, which ideally matches the color temperature of the room. When in doubt, use 5600 kelvin for daylight!
DIY Setup #3: iPad Holder in Ring Light
When to use it: A ring light is the easiest way to get flattering, smooth light with minimal setup. Since it only requires one stand, it’s compact, easy to move, and perfect for smaller parties at your home or office.

| Gear List | Basic | Better |
| iPad | iPad | iPad Air |
| Ring light with stand, includes iPad holder | Mactrem | Simple Booth HALO |
How to Set It Up
- Assemble the ring light and secure your iPad to the built-in holder.
- Position the light just above chest level and angle slightly downward for the most flattering look.
- Adjust brightness until faces are well-illuminated, but not overly bright in the iPad app’s preview.
Pro Tip: Ring lights are best for individuals or small groups—larger groups may need additional side lighting for even coverage.
DSLR and Mirrorless Camera Setups
If photo quality is your top priority, a DSLR or mirrorless camera will give you sharper, more professional-looking results than an iPad alone.
Coming Soon: Simple Booth is launching a DSLR and mirrorless camera integration to make using a professional camera with your iPad photo booth easier than ever before. Keep an eye out for the announcement on Instagram.
DIY Setup #4: DSLR Photo Booth with Two-Light Kit
When to use it: If photo quality is your top priority, a DSLR setup will give you sharper, more professional-looking results than an iPad alone. The two-light kit ensures studio-style lighting, making this a great option for weddings, galas, and brand activations.

| Gear List | Basic | Better |
| iPad | iPad | iPad Air |
| Canon mirrorless camera | R100 | R50 |
| Stand | Neewer | SmallRig |
| Ball head for camera | Neewer | SmallRig |
| iPad holder that clamps to stand | LZSIG (plastic) | Mippko (metal) |
| LED panel 2-light kit | Neewer | Lume Cube |
Optional Accessories
- USB hub (to power iPad while also connecting camera)
- Dummy battery for R50/R100 (for uninterrupted use)
How to Set It Up
- Mount your DSLR on the center stand using the ball head, then clamp your iPad to the same stand. The DSLR should be at about eye level and the iPad should be at about chest level.
- Connect the camera to the iPad via USB-C. Make sure to use an app that is compatible with DSLR.
- Place one LED light and stand on each side, above eye level, aimed toward where subjects will stand.
- Test both still photos and GIFs to ensure proper brightness and focus.
Pro Tip: Use continuous power (dummy battery + USB hub) for both the iPad and camera so you’re not scrambling to swap batteries mid-event.
DIY Setup #5: DSLR Inside Ring Light with iPad Attached Below
When to use it: If you want pro-level image quality but also a fast, streamlined lighting setup, pairing a DSLR with a ring light is a solid choice. It’s less bulky than multiple lights and delivers bright, flattering results for individuals or couples.

| Gear List | Basic | Better |
| iPad | iPad | iPad Air |
| Canon mirrorless camera | R100 | R50 |
| Ring light with stand | Mactrem | – |
| Ball head for camera | Neewer | SmallRig |
| iPad holder that clamps to stand | LZSIG (plastic) | Mippko (metal) |
Optional Accessories
- USB hub (to power iPad while camera is connected)
- Dummy battery for R50/R100 (for long events)
How to Set It Up
- Position the ring light on the stand at about eye level.
- Connect the ball head to the ring light using the 1/4″ threading.
- Mount your DSLR on the ball head, and angle it toward where subjects will stand.
- Secure the iPad to the stand itself with a clamp holder.
- Adjust the ring light brightness and test framing with the iPad app.
- Take a few test photos to make sure the exposure and light brightness are optimal.
Pro Tip: This setup excels in tight spaces since you only need one light source.
After seeing the top DIY and DSLR photo booth options, it’s time to further explore one of the most important aspects of the experience—photo quality.
Leveling Up Photo Quality
By thinking about lighting upfront with all these setups, you’re already on your way to capturing photos your guests will love.
Whether you end up using an iPad or a DSLR camera with your photo booth, there are a few more steps you can take to ensure your pictures turn out great.
The Simple Booth HALO app makes it easy, with effects and enhancements that make images look even better, including:
- Filters – Stylize the colors to stand out
- Glam – Make guests look flawless with a digital glow-up
- Background Blur – Make subjects look sharp and blur out noisy details in the background (as shown below)
You can turn them all on to maximize your image quality, while also allowing guests the ability to personalize their own images and adjust as they’d like.
Now, let’s chat about how you can enhance photo quality—and the guest experience—even further!
Backdrops, Props, & Extras
Opting for a good backdrop and old-school props can make your photo booth feel complete and memorable.
That said, the backdrop, interactive elements, and other extras you choose will depend on your event venue, theme, and budget.
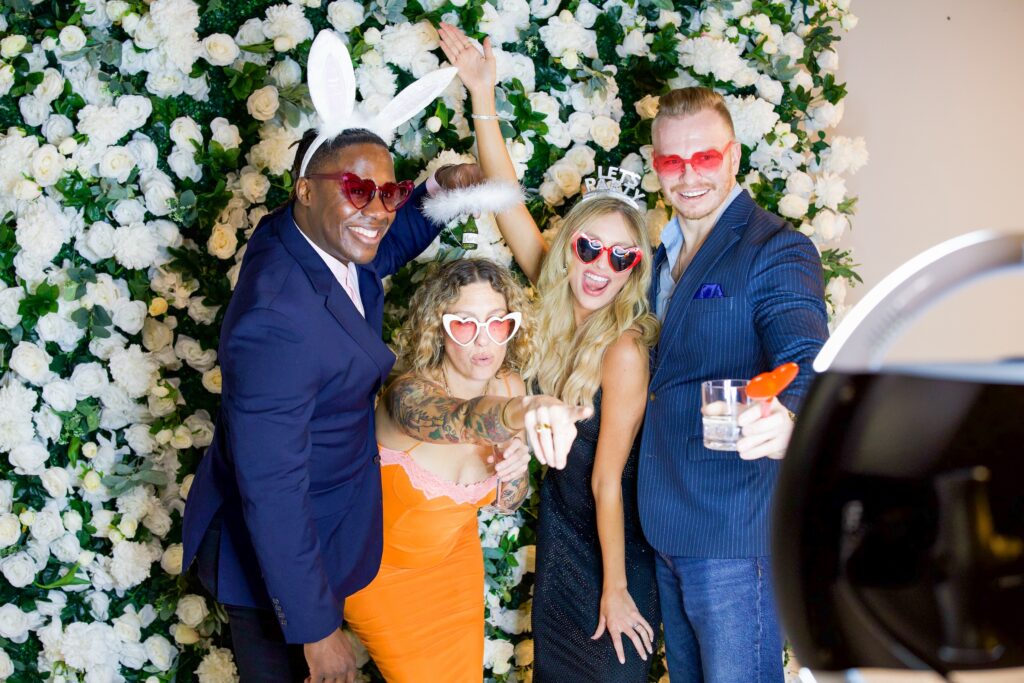
When deciding which creative direction you want to go, typically one of the first things to consider is what your guests will stand in front of.
Photo Booth Backdrops
If you’re looking for a specific look or aesthetic, and don’t want the event itself to be the background for your photos, having a designated backdrop can make all the difference.
There are, of course, a variety of options to choose from, including:
| Budget-Friendly | Mid-range | Premium |
| Streamers | Shimmer walls | Flower wall |
| Curtains | Sequin curtains | Branded step-and-repeat |
| Balloon arch | Fabric backdrops | Green screen |
Pro Tip: Try AI-powered background replacement in the Simple Booth HALO app if you want to ditch the backdrop altogether and still walk away with a polished look.
Photo Booth Props
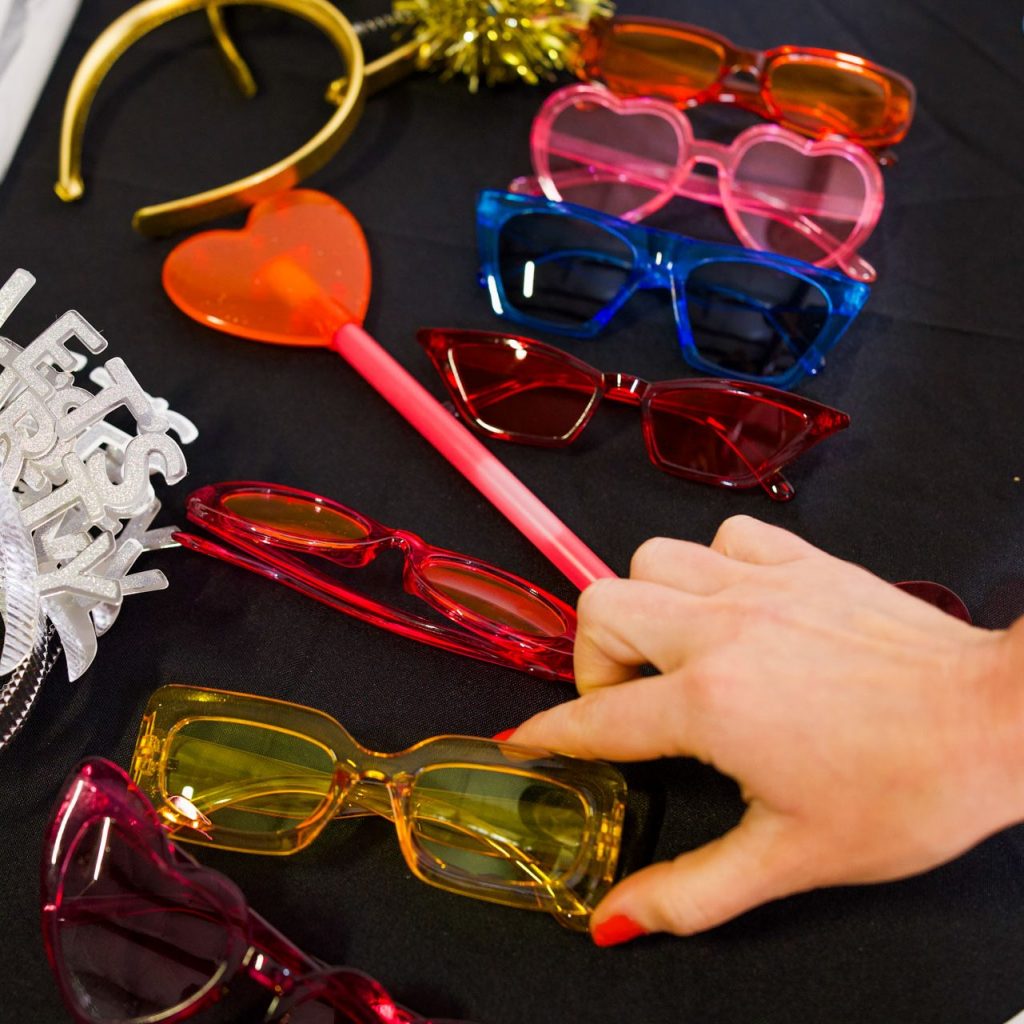
Photo booth props are a classic add-on, and it gives guests a little inspiration when it comes to posing in front of the camera.
There are a number of different props you can provide for your guests, in both physical and digital forms.
Here are a few examples of popular physical props people use:
| Budget-friendly | Mid-range | Premium |
| Sunglass Pack | Heart sunglasses | Custom-branded wearables |
| Pom pom headbands | Bridal headbands | Costume hats & headbands |
| Chalkboard signs | Themed prop packs | Custom prop packs |
Pro Tip: The Simple Booth HALO app includes a large selection of digital props (including custom options) for a hassle-free and environmentally-friendly option.
Printing (optional add-on)
Offering prints, whether they’re a single photo or classic photo booth strip, is a great way to give your guests a physical keepsake from your event.
With the Simple Booth HALO app, you can even add your own branding or custom logo!
As you can imagine, there are a wide variety of printers to choose from, including consumer printers and dye-sublimation printers—with pros and cons for each.
Consumer printers (like the Canon Selphy shown above) can typically be purchased at a lower price point. The downside is they can take much longer to print, which can lead to long lines at the printing station.
Dye-sublimation printers are known for fast printing times, but they tend to be expensive and require a print server in order to connect with the photo booth. This means an added layer of technology and more gear.
Pro Tip: Digital sharing is still the fastest, most popular, and best option for the environment.
For additional information, along with a few printer recommendations, head to the Printing section of the Simple Booth Help Center for the full rundown.
Other Tips & Tricks
We get it—events can be stressful sometimes!
Here are a few suggestions from the Simple Booth team to keep the stress low and spirits high:
- Use dummy batteries for DSLRs so they last all night.
- Have extra extension cords and power strips ready for your lights.
- Bring along gaffer’s tape and use it to tape down and secure any loose cords.
- Consider bringing a small table for guests to put drinks on.
- Use a hot spot to connect your iPad to the internet.
Pro Tip: The Simple Booth HALO app will work without an internet connection and will safely store your photos in an offline upload queue until you are reconnected.
It’s also a great idea to get your photo booth app ready before heading to the event. With the Simple Booth HALO app, you can choose from 60+ readily available themes to make it super easy!
Wrapping Up
A DIY photo booth can be as straightforward as an iPad with a ring light or as polished as a DSLR rig with pro lighting.
With the gear lists in this guide, you can buy exactly what you need and set up quickly—whether you’re hosting a casual get-together, milestone occasion, or a corporate gathering.
Regardless of which option you choose, you now have the knowledge (and the gear lists) to make your event photos a hit.
Disclaimer: This guide includes references and links to third-party products. While we have tested the gear and some of the props and backdrops for our purposes, Simple Booth does not guarantee their performance, reliability, or suitability for your specific use case. Simple Booth provides support only for our HALO app and hardware solutions; for any issues with third-party products, please contact the manufacturer directly. Some links may be affiliate links, meaning Simple Booth could earn a commission if you make a purchase.
Looking for an professional photo booth solution with a studio-quality ring light, rugged travel case, and 7-day support?
